
How to Start Developing Your Own Mobile App
In today's digital age, developing your own mobile app can be an exciting and rewarding venture, whether you're looking to solve a problem, promote a business, or express your creativity. To embark on this journey, begin by identifying a clear purpose for your app and understanding your target audience. Research the market to validate your idea and explore existing solutions. Next, familiarize yourself with the essential tools and platforms for app development, such as coding languages, development frameworks, and design software. With a solid foundation in place, you can start sketching out your app’s features and layout, paving the way for a successful launch.
Introduction
In the era of smartphones, mobile applications have become an integral part of our daily lives. From social networking to productivity tools, there is a mobile app for virtually every need. If you have a great idea for a mobile app and are looking to bring it to life, this guide will walk you through the essential steps to start developing your own mobile application.
Step 1: Define Your Idea
The first step in developing your mobile app is to clearly define your idea. What problem does your app solve? Who is your target audience? Conducting market research is crucial at this stage. Look at existing apps, their features, and user reviews to identify gaps in the market. This will help you refine your concept and determine if there is a demand for your app.
Step 2: Choose a Platform
Deciding on which platform to develop your app is a crucial decision. The two most popular platforms are iOS and Android. Consider your target audience's preferences. If your target users predominantly use iPhones, iOS might be the best choice. Conversely, if you want to reach a wider audience, consider developing for Android. You can also choose to develop a cross-platform app using frameworks like React Native or Flutter.
Step 3: Create a Wireframe
A wireframe is a visual representation of your app's layout and functionality. It helps you outline the user interface elements and the overall flow of the app. You can use tools like Balsamiq, Sketch, or Figma to create your wireframe. Focus on user experience (UX) and ensure that the navigation is intuitive. This step will serve as a blueprint for your app’s design and development.
Step 4: Design the User Interface (UI)
Once you have your wireframe, it’s time to design the user interface. The UI is what users will interact with, so it’s important to make it visually appealing and user-friendly. Choose a color scheme, typography, and design elements that align with your brand identity. Use design tools like Adobe XD, Figma, or Canva to create high-fidelity mockups of your app screens.
Step 5: Choose the Right Development Approach
There are several approaches to mobile app development, including native, hybrid, and web apps. Native apps are developed specifically for one platform (iOS or Android) and provide the best performance and user experience. Hybrid apps are built using a single codebase and can run on multiple platforms, making them more cost-effective. Web apps are essentially websites optimized for mobile devices but do not have the same capabilities as native apps. Choose the approach that best fits your goals and resources.
Step 6: Learn Programming Languages or Hire Developers
If you’re planning to develop the app yourself, you’ll need to learn the necessary programming languages. For iOS, you’ll want to learn Swift or Objective-C, while Android development typically requires Java or Kotlin. If you’re not technically inclined, consider hiring a developer or a development team. Platforms like Upwork and Freelancer can help you find experienced professionals.
Step 7: Set Up the Development Environment
To start coding, you’ll need to set up your development environment. This includes installing the necessary software development kits (SDKs), integrated development environments (IDEs), and other tools. For iOS development, you’ll need Xcode, while Android development requires Android Studio. Familiarize yourself with the tools and resources available for your chosen platform.
Step 8: Develop the App
Now comes the most exciting part: development! Start coding your app based on the wireframe and designs you created earlier. Break the development process into manageable tasks and prioritize them. It’s essential to follow best coding practices to ensure your app is scalable and maintainable. Consider using version control systems like Git to track changes and collaborate with others efficiently.
Step 9: Test Your App
Testing is a critical phase in app development. It helps identify and fix bugs, improve functionality, and ensure a seamless user experience. Conduct different types of testing, including unit testing, integration testing, and user acceptance testing (UAT). You can use testing frameworks like XCTest for iOS and JUnit for Android. Involve beta testers to gather feedback and make necessary improvements before the official launch.
Step 10: Prepare for Launch
Before launching your app, you need to prepare for its release. Set up developer accounts on the App Store and Google Play Store. Create an engaging app description, choose relevant keywords, and design eye-catching promotional materials. Consider your launch strategy—will you promote the app on social media, or will you invest in paid advertising? A well-planned launch can significantly impact your app's initial success.
Step 11: Launch Your App
Once everything is in place, it’s time to launch your app! Submit it to the respective app stores and wait for approval. Keep in mind that Apple has strict guidelines for app submissions, so ensure you comply with all requirements. Once approved, your app will be live, and users can start downloading it!
Step 12: Gather Feedback and Iterate
After launching your app, it’s crucial to gather user feedback. Monitor reviews and ratings on the app stores, and pay attention to user comments and suggestions. Use analytics tools to track user behavior and identify areas for improvement. Based on this feedback, plan updates and new features to enhance the user experience and keep your audience engaged.
Step 13: Market Your App
Marketing your app is an ongoing process that requires effort and strategy. Utilize social media, content marketing, and search engine optimization (SEO) to promote your app. Consider creating a website or landing page to provide more information about your app. You can also reach out to influencers and bloggers in your niche for reviews and promotions. Building a community around your app can help drive downloads and user retention.
Step 14: Monetize Your App
If you’re looking to generate revenue from your app, explore different monetization strategies. Common methods include in-app purchases, subscriptions, and ad placements. Choose a model that aligns with your app’s purpose and user expectations. Keep in mind that offering a free version with premium features can attract more users while still generating income.
Step 15: Maintain and Update Your App
App development doesn’t end with the launch. Regular maintenance and updates are essential to keep your app running smoothly and to ensure compatibility with the latest operating system versions. Fix bugs, add new features, and continuously improve the performance of your app based on user feedback. Staying proactive will help you retain users and attract new ones.
Conclusion
Developing your own mobile app can be a rewarding but challenging endeavor. By following the steps outlined in this guide, you can turn your idea into a fully functional app. Remember that the app development process takes time and effort, so stay patient and persistent. With the right planning, development, and marketing strategies, your mobile app can reach its full potential and make a meaningful impact in the digital landscape.
Explore
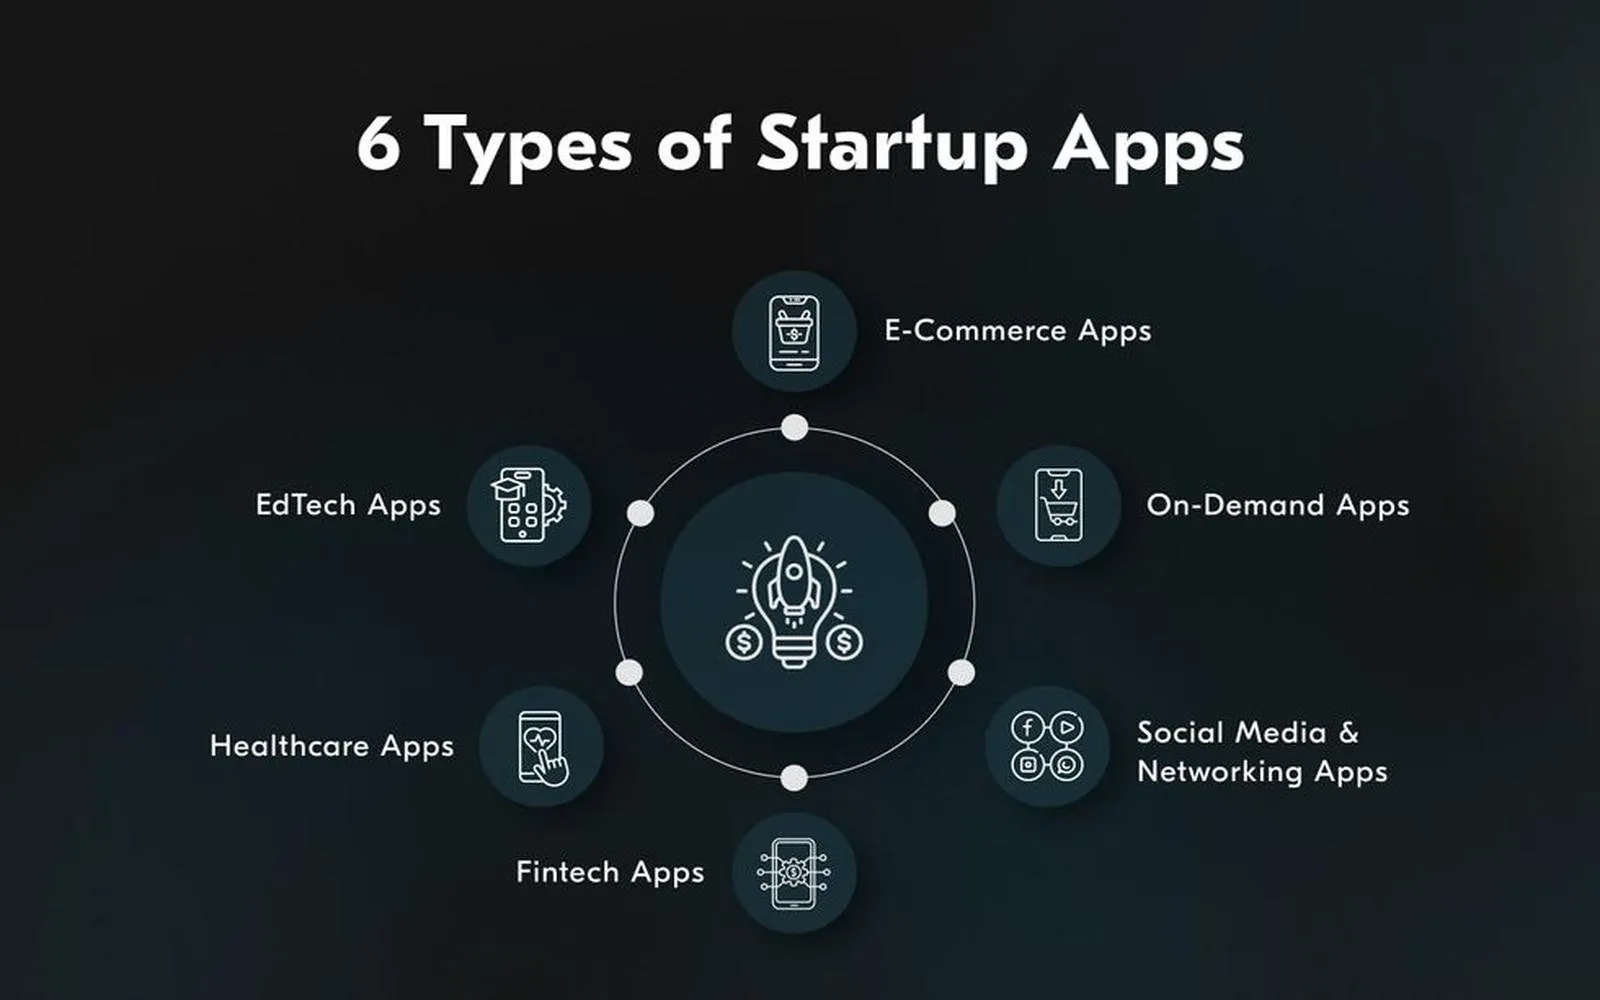
Unlocking Innovation: The Top App Developers Every Startup Needs to Know

The World of Web Development: Choosing the Right Web Development Service
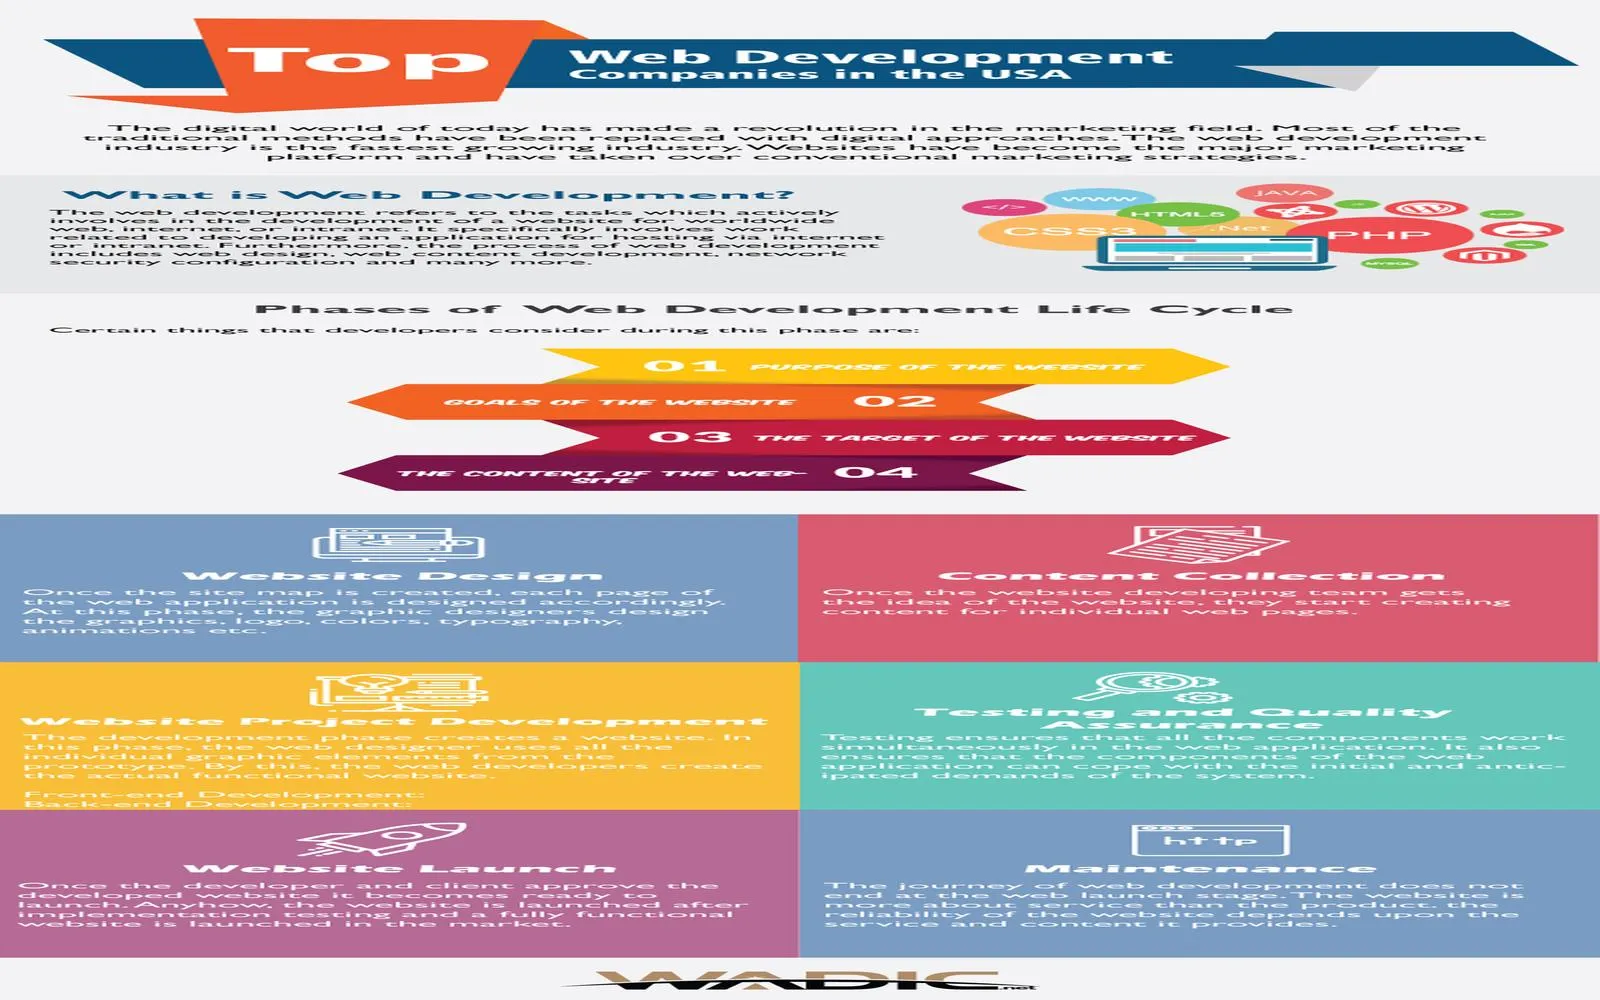
Top Web Development Agencies of 2025: Elevate Your Online Presence with Leading Experts

Get Your Dream Home: How to Sell Your House Fast and Move On to Your Next Adventure

Top Health Monitoring Devices to Own in 2025

Future of Mobile Technology: Top Cellphone Trends and Innovations to Watch in 2025
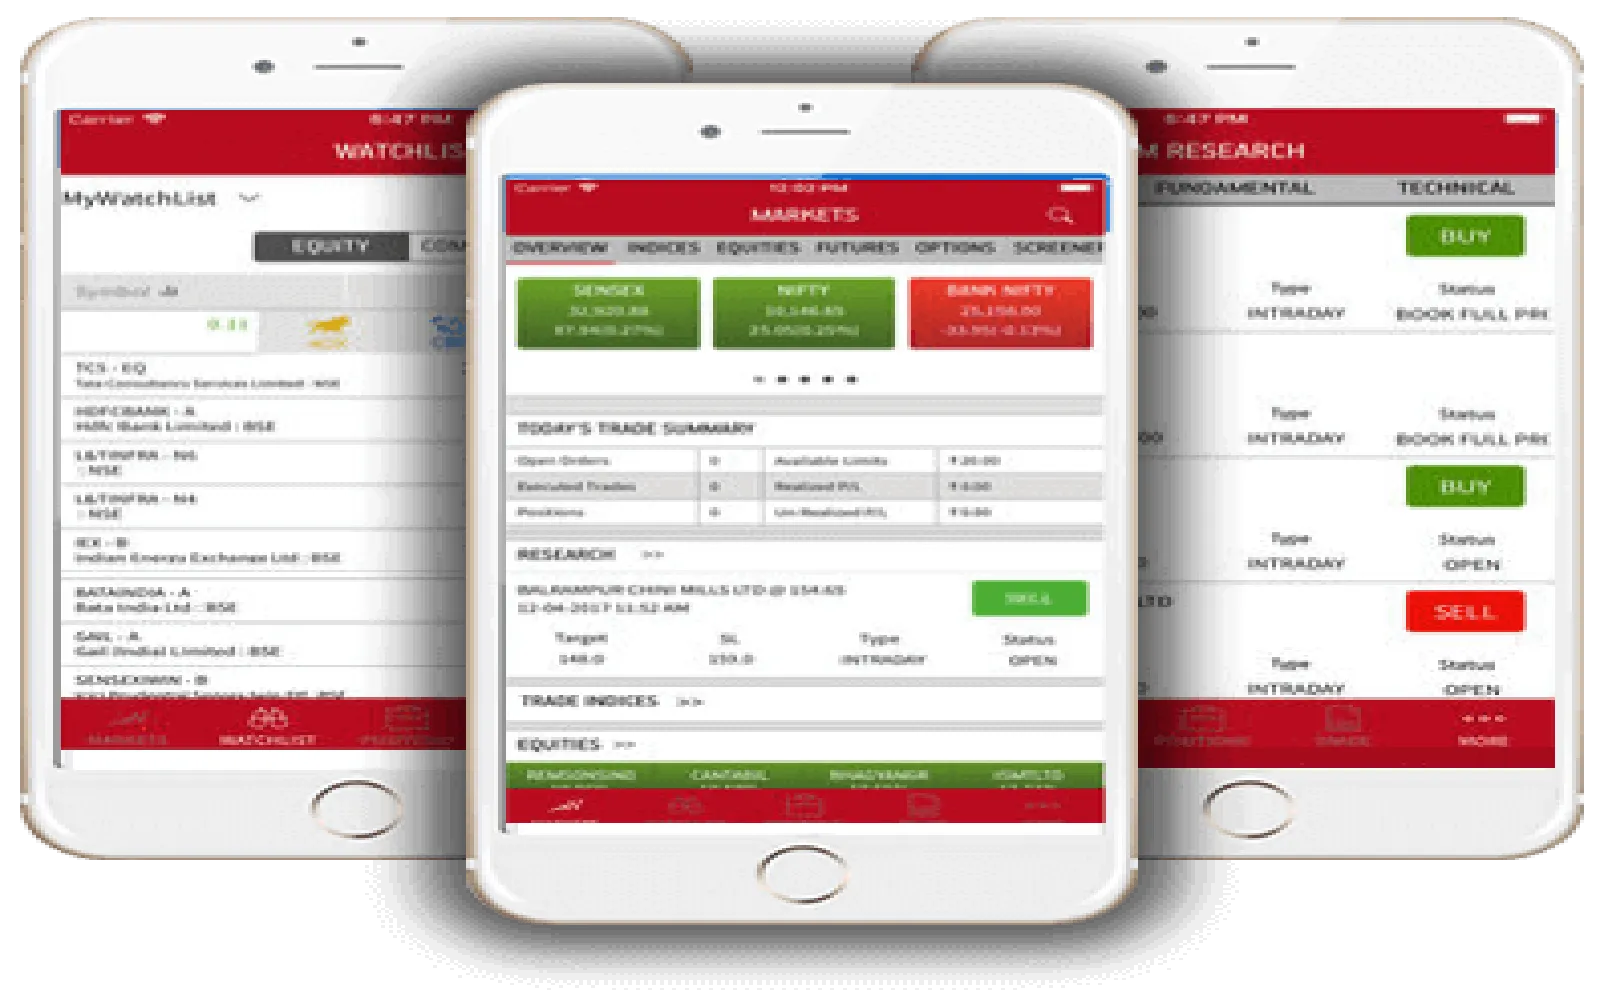
Mobile Investment Apps Changing the Game in 2025

Smart Investing in 2025: How to Start with Little Money and Grow Your Wealth